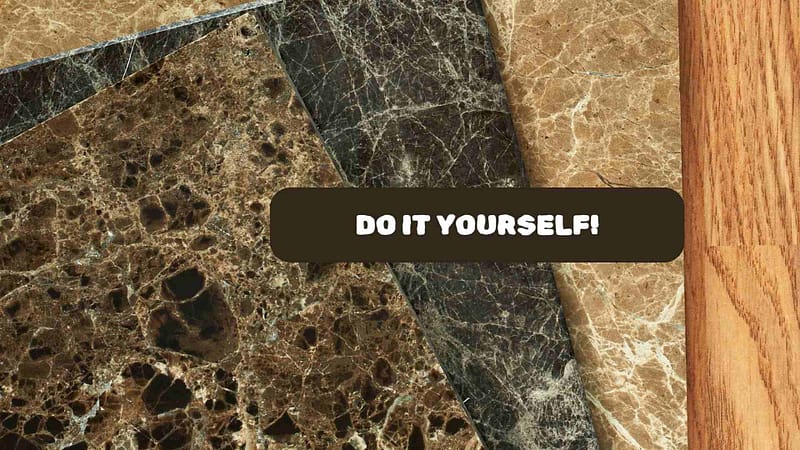
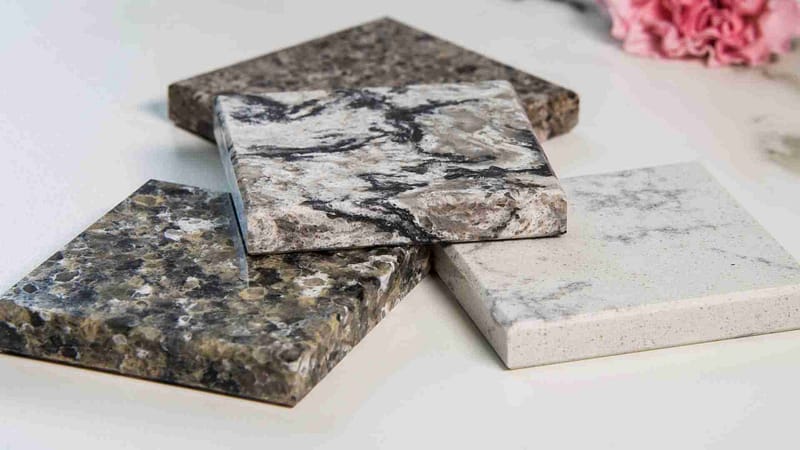
In the realm of DIY home projects, the repurposing of materials not only stands as a testament to sustainability but also ignites a creative spark that transforms ordinary spaces into realms of bespoke elegance. Among such materials, granite, with its inherent durability and timeless beauty, offers a unique palette for those inclined towards crafting not just objects, but stories. Leftover granite, often a byproduct of larger renovations, holds untapped potential for those willing to look beyond its initial purpose. This article ventures into the world of DIY projects that breathe new life into granite remnants, turning them into functional art pieces for your home and garden. From the simplicity of coasters to refreshing whiskey stones, each idea melds practicality with the luxurious appeal of granite, offering a guide to reimagining your space with sustainability and style at the forefront.
Table of Contents
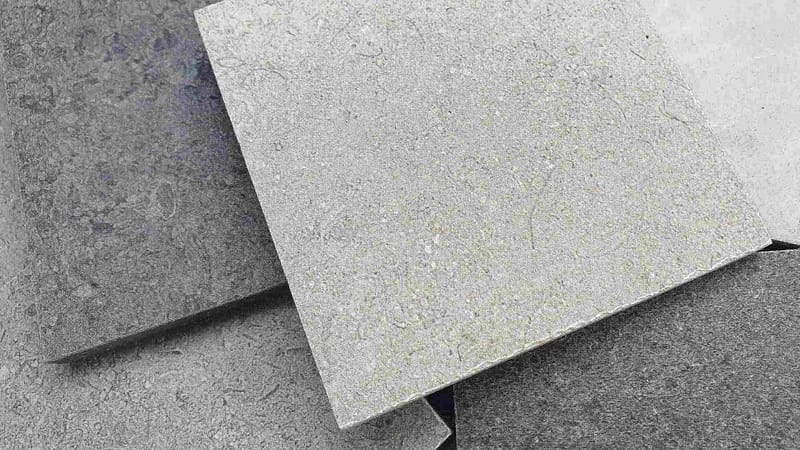
1. Coasters: A Symphony of Style and Functionality
Granite coasters serve as miniature showcases of nature’s intricate beauty, transforming a functional item into a statement piece of decor. The robust nature of granite makes these coasters perfect for withstanding the heat of a mug or the condensation from a cold glass, all while adding an elegant touch to your coffee table. This project allows you to customize shapes and finishes, ensuring that these practical items also reflect your personal style.
Steps:
- Select Your Pieces: Choose granite remnants with colors and patterns that appeal to you. Consider mixing and matching for a varied set.
- Cut to Size: Using a wet saw equipped with a diamond blade, cut the granite into your desired shapes, typically 4×4 inches for a standard coaster.
- Smooth the Edges: With a sanding stone or a hand-held diamond polishing pad, gently round off the edges to prevent them from being sharp and to give a refined finish.
- Seal the Surface: Apply a granite sealer to protect against stains and enhance the stone’s natural color. Allow it to dry as per the manufacturer’s instructions.
- Attach Protective Pads: Fix felt or rubber pads to the bottom of each coaster to protect your table surfaces from scratches.
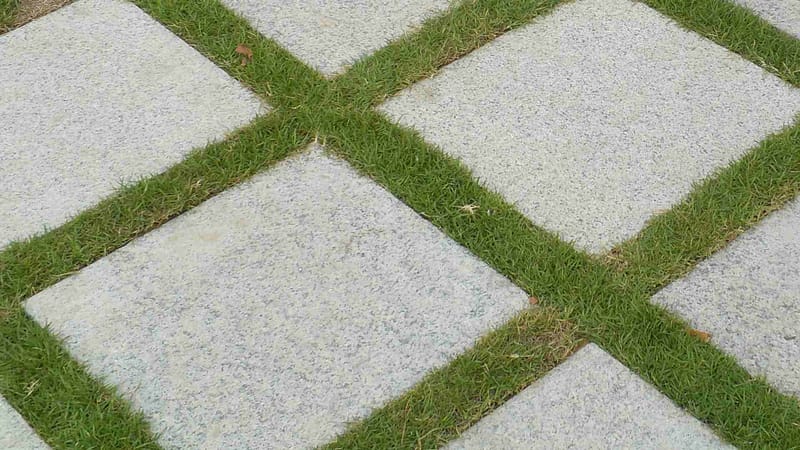
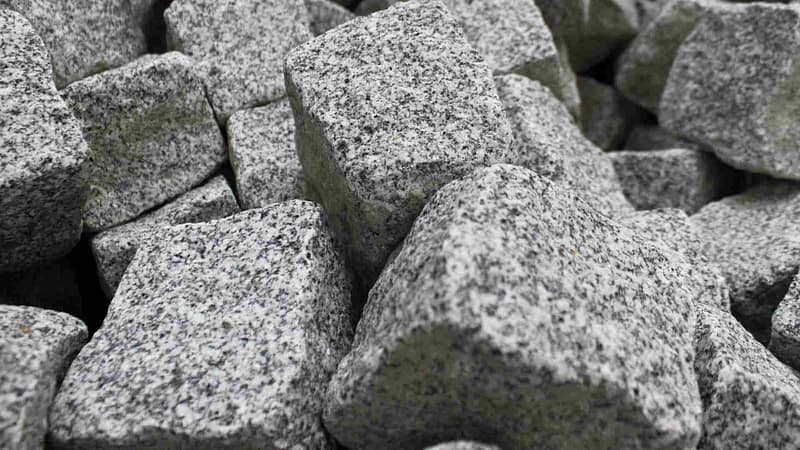
2. Garden Pathway Tiles: Crafting Your Path to Serenity
A garden pathway made from granite tiles offers a durable and aesthetically pleasing route through your outdoor spaces. Granite’s toughness makes it capable of withstanding the elements, while its natural beauty enhances the garden’s landscape. Crafting a pathway from granite remnants not only recycles material but also creates a personalized touch to your garden design, inviting you and your guests to explore with every step.
Steps:
- Plan Your Design: Lay out the granite pieces on the ground to finalize your pathway design. This step helps in adjusting the fit and visualizing the end result.
- Prepare the Foundation: Remove the top layer of soil along your planned path and replace it with a bed of sand. This ensures a stable and level base for your granite tiles.
- Lay the Tiles: Place the granite tiles onto the sand, pressing them firmly into place. For a snug fit, keep the tiles close together.
- Level the Surface: Check each tile with a level to ensure they are flat and make adjustments as necessary by adding or removing sand underneath.
- Fill the Joints: Spread fine sand or stone dust into the gaps between the tiles, sweeping it into every crevice and then watering it slightly to settle. This step locks the tiles in place and completes the pathway.
3. Decorative Tray: Serving Up Style
A granite decorative tray embodies sophistication and versatility, serving as both a functional item for entertaining and a piece of art for your home. The unique patterns and colors of granite can turn a simple tray into a focal point of your living room or dining area. Whether used to serve appetizers to guests or as a chic organization solution for your essentials, a granite tray offers a blend of luxury and practicality.
Steps:
- Select Your Granite: Choose a remnant piece that fits the size and aesthetic you desire for your tray. Rectangular pieces work well for a classic tray shape.
- Cut to Specifications: If necessary, trim your granite to the desired size using a wet saw. This is also the time to shape the edges to your liking.
- Polish Edges: Smooth and polish the edges of your granite piece to ensure they are safe to handle and have a finished appearance.
- Attach Handles: Select handles that complement the style of your granite and attach them securely to the sides with appropriate adhesive or hardware, depending on the thickness of your granite.
- Seal the Granite: Apply a sealer to the granite to protect it from stains and enhance its natural beauty, following the product’s instructions for application and drying time.
4. Cutting Board: Culinary Craftsmanship
A granite cutting board is not just a kitchen tool but a statement of elegance and durability. Unlike wood or plastic, granite provides a solid, non-porous surface for food preparation, making it less likely to harbor bacteria. The cool surface of granite is also ideal for rolling out dough, making it a versatile addition to your culinary arsenal. Crafting your own granite cutting board allows you to tailor its size and shape to your kitchen’s needs and your personal style.
Steps:
- Choose Your Granite: Look for a remnant piece that fits the size you need for a cutting board. Consider the thickness of the granite for ease of handling and storage.
- Cut to Size: Using a diamond-tipped saw blade, cut the granite to your desired dimensions. Remember, the edges will be smoothed out, so leave a little extra space for finishing.
- Smooth the Edges: Round off the edges of the granite using a polishing stone or a hand-held grinder with a diamond polishing pad. This makes the board safe to handle.
- Polish the Surface: Although granite is naturally smooth, a quick polish can enhance its texture and shine, making it even more appealing for kitchen use.
- Apply Feet: Attach rubber or silicone feet to the bottom of the cutting board to prevent it from slipping on your countertop during use.
These detailed ideas and steps aim to inspire and guide you through the process of repurposing leftover granite into beautiful, functional items for your home and garden.
5. House Number Display: A Grand Entrance
A granite house number display elevates the curb appeal of your home, offering a blend of durability and elegance that stands the test of time. Granite’s weather-resistant qualities ensure that your house number remains legible and stylish through seasons.
Steps:
- Select the Piece: Choose a granite piece that’s appropriately sized for your numbers and visible from the street.
- Polish and Prepare: Smooth the surface and edges of the granite to prepare for the numbers.
- Attach Numbers: Securely attach your house numbers to the granite using a strong adhesive designed for outdoor use.
- Seal for Durability: Apply a weather-resistant sealant to the entire piece, focusing on areas around the numbers to prevent water ingress.
- Mount Securely: Use heavy-duty brackets or a mounting system suited for the weight of granite to attach the display near your front door or at the driveway entrance.
6. Bookends: Literally Solid Support
Granite bookends not only keep your books upright but also add a touch of elegance to your bookshelf. Their substantial weight can support even the heftiest of tomes, and their unique appearance makes them a focal point.
Steps:
- Cut to Size: Select two matching granite pieces and cut them into equal sizes, ideal for the ends of your bookshelf.
- Polish and Smooth: Carefully polish the surfaces and smooth the edges for a refined look and to prevent any damage to your books.
- Apply Felt Pads: Attach felt pads to the bottom of each bookend to protect your furniture from scratches.
- Seal the Granite: A sealer can enhance the stone’s natural colors and protect the surface from spills or stains.
- Arrange on Shelf: Place your granite bookends on the shelf, ready to organize and showcase your book collection stylishly.
7. Whiskey Stones: Chill Without Dilution
Granite whiskey stones offer a stylish way to chill your favorite spirits without watering them down. Their non-porous nature means they won’t absorb flavors or odors, making them perfect for reuse.
Steps:
- Cut Small Cubes: Slice the granite into small, cube-shaped pieces, around 1 inch in size.
- Smooth and Round Corners: Use a polishing stone to smooth all surfaces and round the corners to prevent glassware damage.
- Clean Thoroughly: Wash the stones with soap and water, then let them dry completely.
- Freeze: Place the stones in the freezer for at least 4 hours before use.
- Serve and Enjoy: Add the chilled granite stones to your drink, sit back, and enjoy your perfectly cooled beverage.
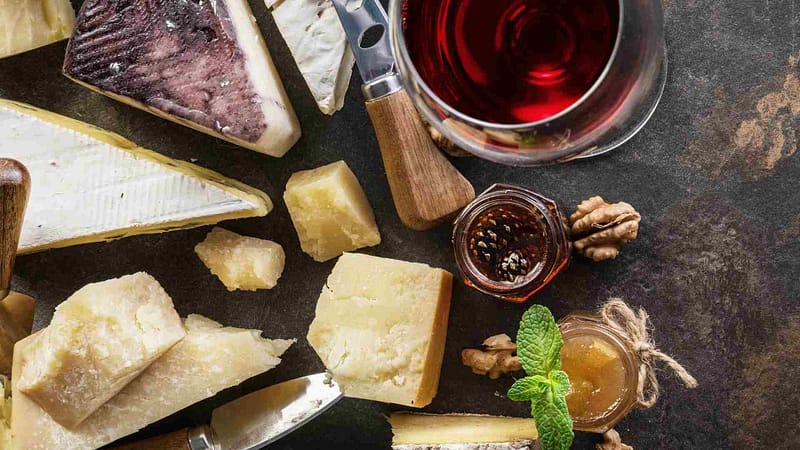
8. Cheese Platter: Entertaining in Style
A granite cheese platter is not just functional; it’s a conversation starter. The cool surface of granite keeps cheese at the perfect temperature, while its polished beauty showcases your selection with elegance.
Steps:
- Shape Your Platter: Cut the granite into your desired shape—round, square, or rectangular.
- Polish and Smooth: Ensure the surface and edges are smooth and polished for a sleek look and safe handling.
- Seal the Surface: Apply a food-safe sealant to protect the granite and make it easier to clean.
- Add Non-Slip Feet: Attach small rubber or silicone feet to the bottom to keep your platter stable on any surface.
- Prepare and Serve: Arrange your cheese, fruits, and nuts on the platter, ready to impress and delight your guests.
Conclusion
The journey from granite remnants to treasured home and garden additions embodies the essence of creativity and sustainability in home improvement. Each project, from the elegance of a cheese platter to the communal charm of a decorative tray, showcases the versatility of granite, transforming it from a mere material to a medium of personal expression and practical elegance. This collection of 8 DIY ideas serves not just as a guide but as an inspiration to view leftovers with a lens of potential, encouraging a step towards sustainability through the repurposing of materials. Whether you’re a seasoned DIY enthusiast or a newcomer eager to embark on a crafting journey, these granite project ideas offer a starting point for transforming your living space into a bespoke haven, proving that with a bit of imagination and effort, the possibilities are as enduring as granite itself. If you ever need some help for you home remodeling with granite you know who to ask!